Send Email with Next.js, Resend and React-Email
Emails are important for talking to people, whether it's for work or personal reasons. But for developers, making good-looking and working emails can be hard and take a lot of time. There are problems like not having enough support for HTML, issues with different email programs, and the biggest issue – emails ending up in spam folders.
Trying to make email writing more exciting, the Resend team has come up with a library called React Email. It's like a modern solution for creating emails.
In today's post we will see how we can create an email using the template provided by React-email using Next.js, Resend and React-Email.
React-Email
React Email consists of good components without any specific styles, which allows us to make emails using React and TypeScript. The library also has a handy function that turns JSX code into HTML that works well with emails, making sure it looks good on all the popular email programs.
Let's Start
Let create a new Next.js application using the below command
npx create-next-app@latest
And fillout the questions that is asked to create the next application leaving that to you. Make sure to choose "NO" for Tailwindcss.
Once the installation is completed let's install react-email package using the below command
npm install react-email @react-email/components -E
Once the package is installed go to package.json and then update the scripts like below
{
  "scripts": {
    "email": "email dev"
  }
}
Now in the application root create a new folder named "emails" and then create a new file named welcomeEmail.tsx
Once the file is created add the following snippet
import { Button, Html } from "@react-email/components";
import * as React from "react";

export default function Email() {
  return (
    <Html>
      <Button
        href="https://example.com"
        style={{ background: "#000", color: "#fff", padding: "12px 20px" }}
      >
        Click me
      </Button>
    </Html>
  );
}
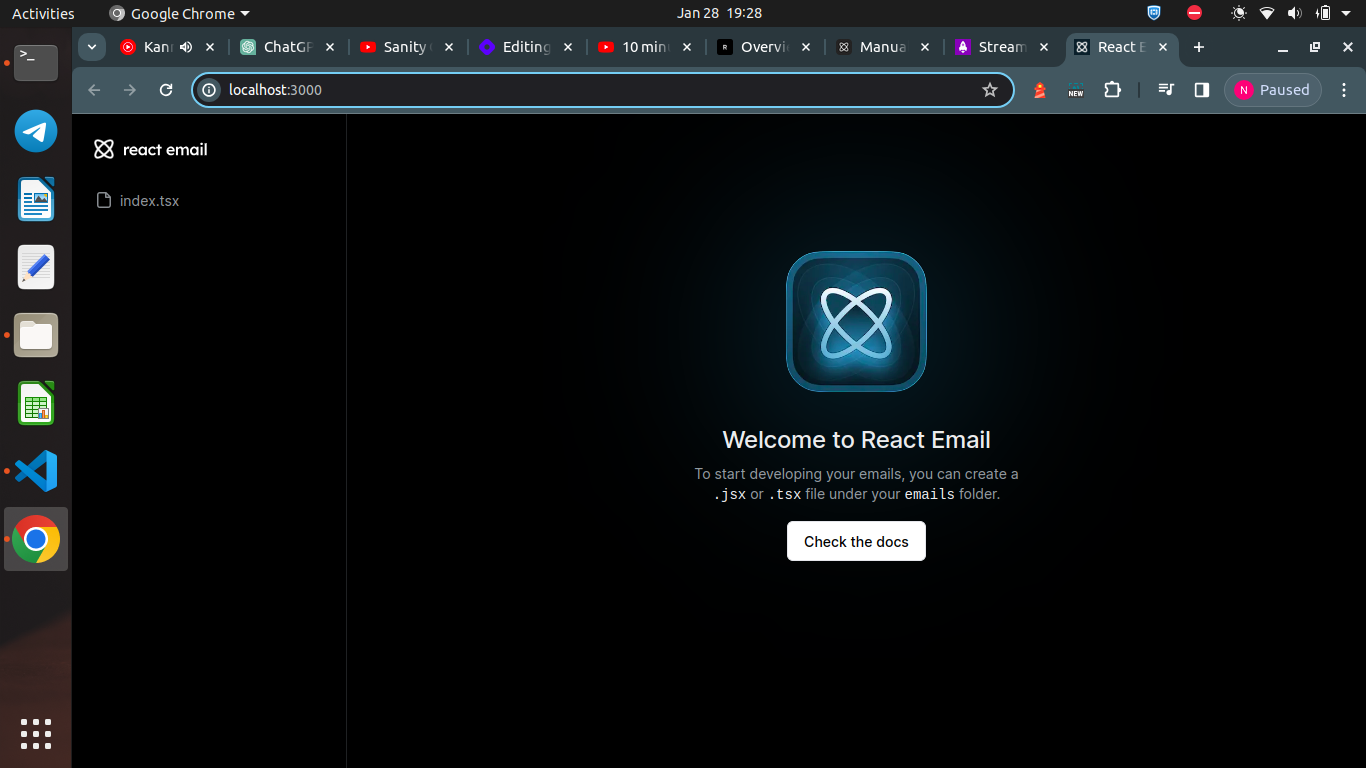
Once you have added the code run the application using the command
npm run email
which will open the application in 3000 port and you could see the following screen
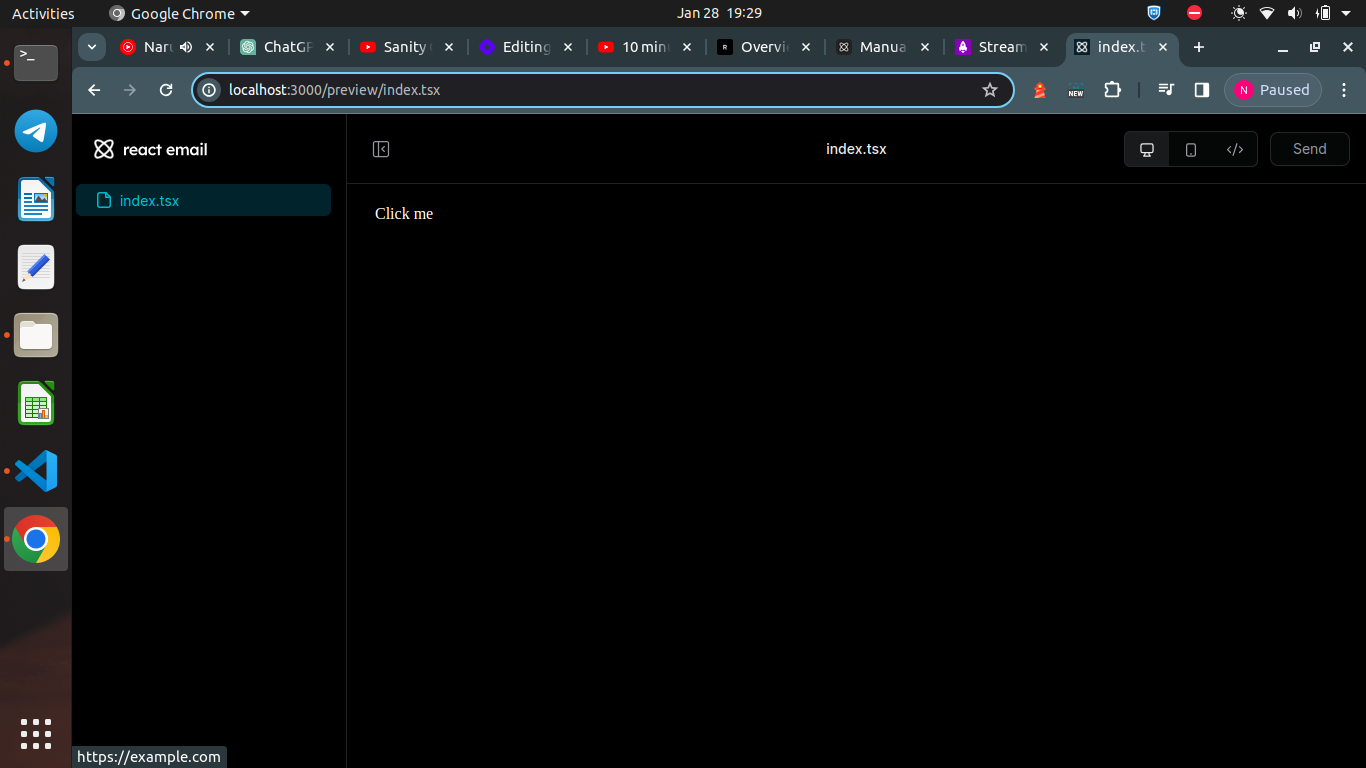
Click on the index.tsx you could see the button like below
Now we have created a simple component now if we go to the email templates section in React-email you can see some templates which you can take an insipiration.
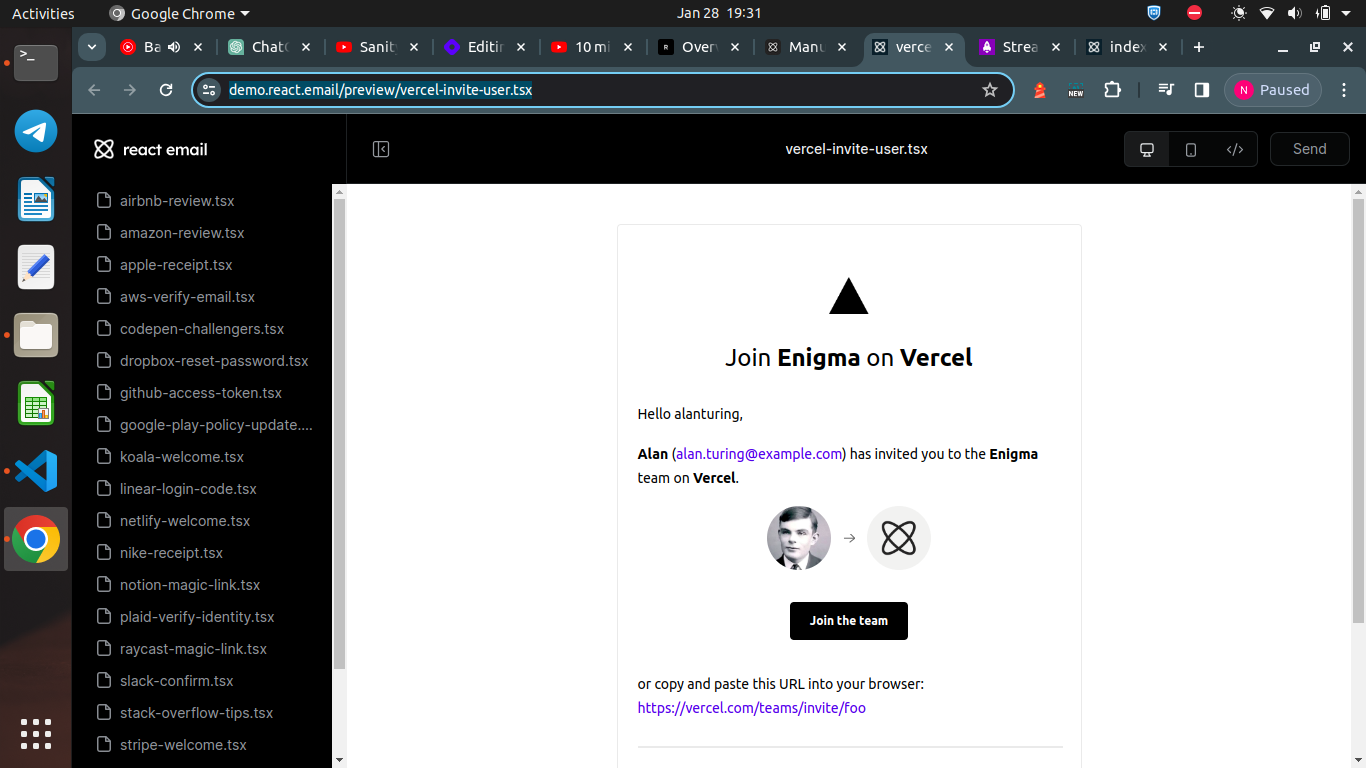
You can copy the email code by clicking on the Code Icon where you can see the actual code for the template which you can reuse in your application.

Once you have done with the template the next step is to create the API to send emails from the Next.js application using Resend.
API for sending emails
Create a new folder named api/mail inside app folder and then create a new file named route.ts.
Now add the resend dependency
npm i resend
Also visit resend site and create a new account and grab the API key for sending the email.
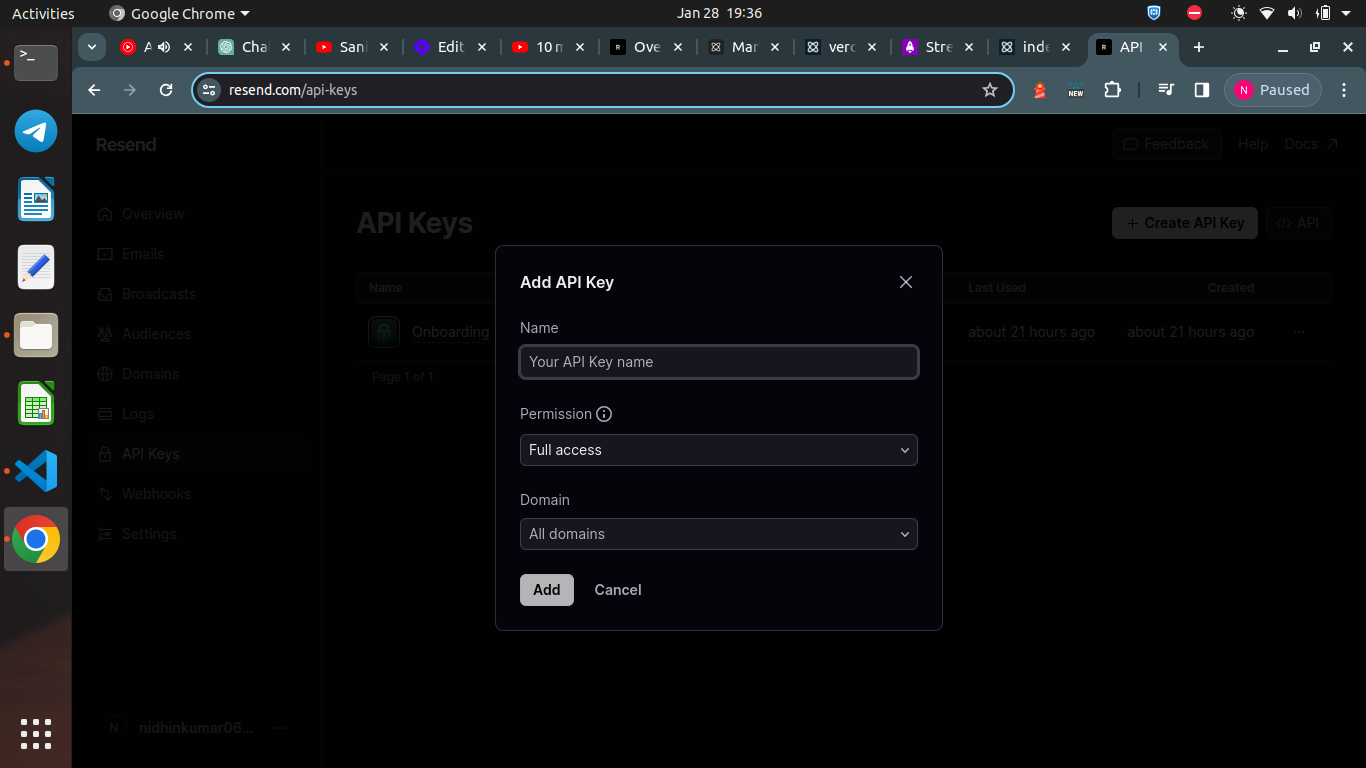
Once the API is created add this API key in your local .env file like below
RESEND_API=re_VS***3qz_KcGcPE6******yXAP**YF5d**M
Once you have added the API key in .env file go to your route.ts file and add the following snippet.
import { render } from "@react-email/render";
import WelcomeEmail from "../../../emails";

import { Resend } from "resend";

const resend = new Resend(process.env.RESEND_API);

export async function POST(request: Request, res: Response) {
  const { email } = await request.json();

  const { data, error } = await resend.emails.send({
    from: "onboarding@resend.dev",
    to: email,
    subject: "This is a test email",
    html: render(WelcomeEmail()),
  });

  if (error) {
    return Response.json(error);
  }

  return Response.json({ message: "Email sent successfully" });
}
In the above code we are importing the template which we have created earlier. and then we are setting up the from and to email address. For the trial purpose we will use "onboarding@resend.dev" and if you have custom domain to send email we will see how to do that in few mins.
Now run the next application using the following command.
npm run dev
Now we will send the email open Postman or Thunderclient and then create a new request like below
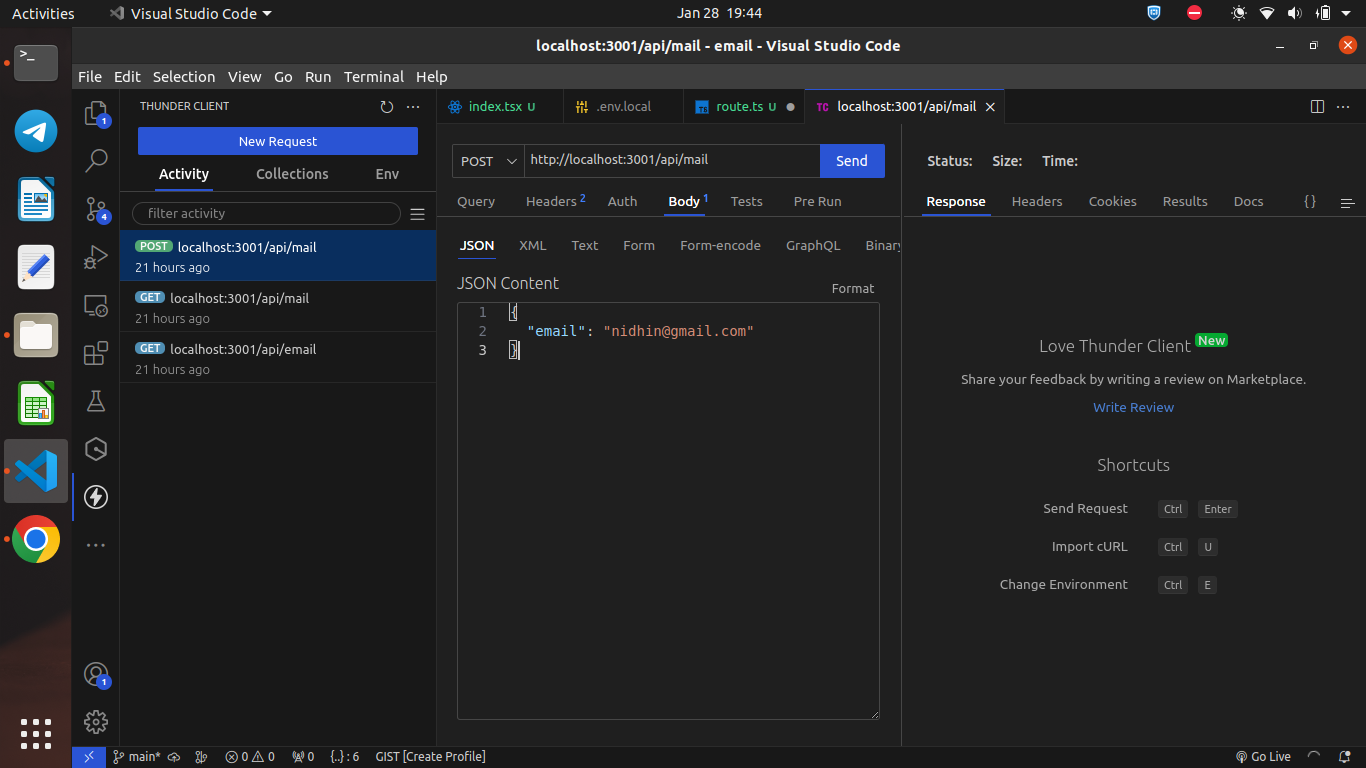
| URL | http://localhost:3001/api/mail |
| METHOD | POST |
| BODY | JSON |
| BODY CONTENT | { "email": "nidhin@gmail.com" } |
Once you click "SEND" you could see the email is sent to the provided email address.
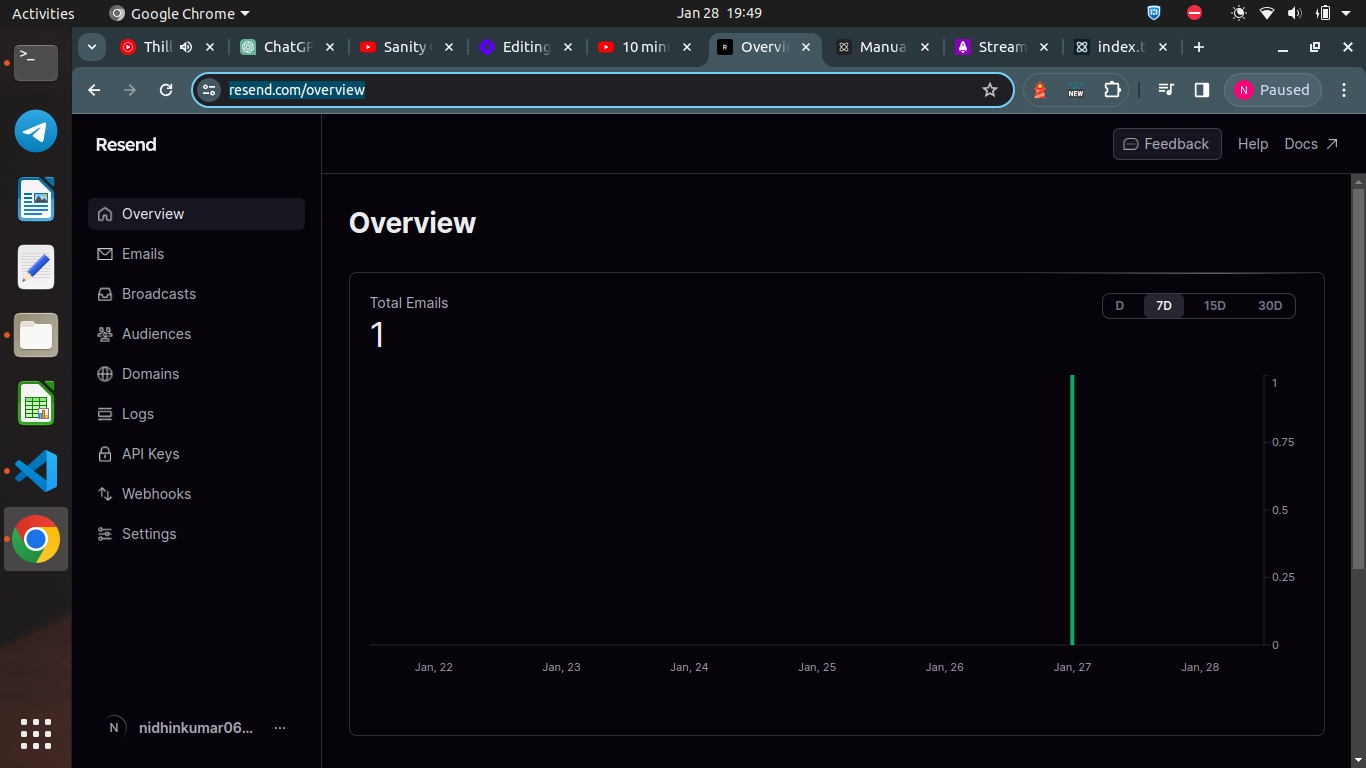
Now you would receive an email. You can check the email delivery status in Resend dashboard.
Custom Domains
Open Resend and then click "Domains"
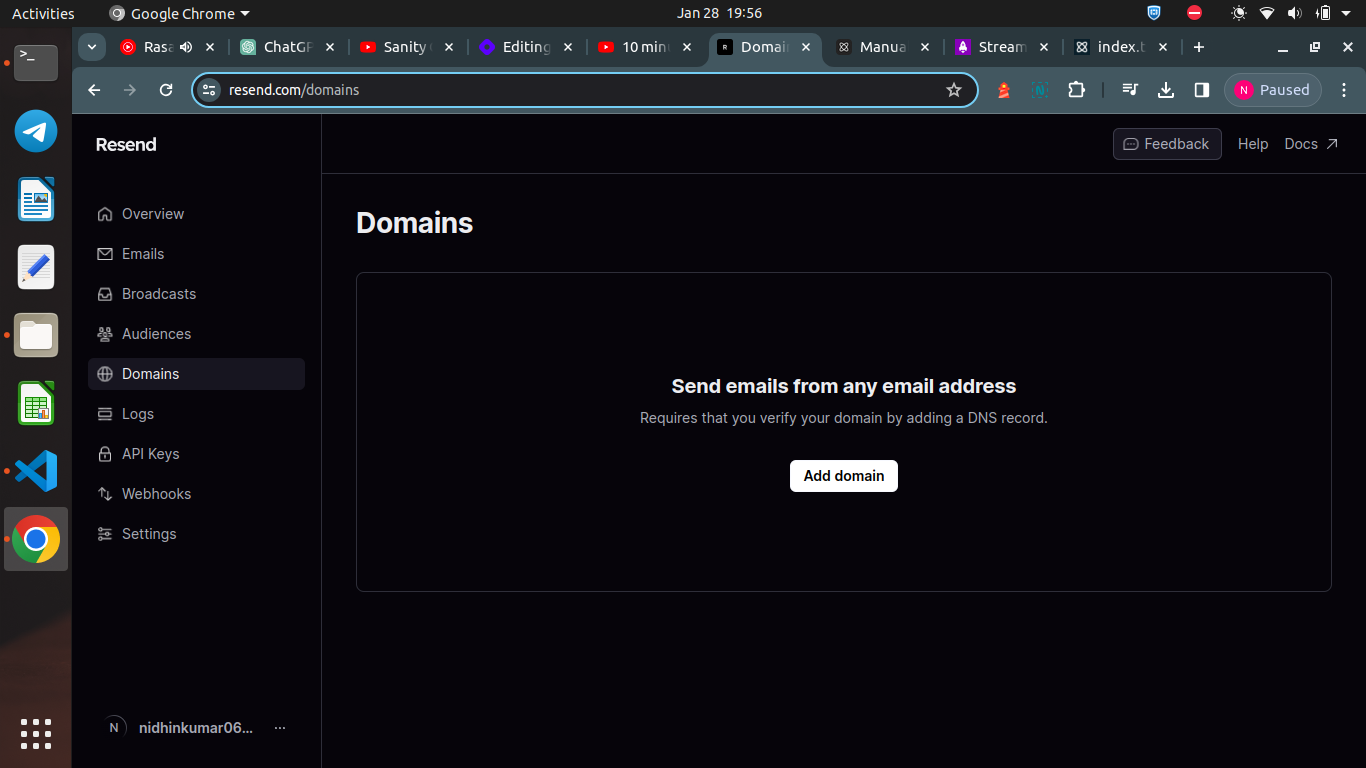
Now click "Add domain" and then add your domain
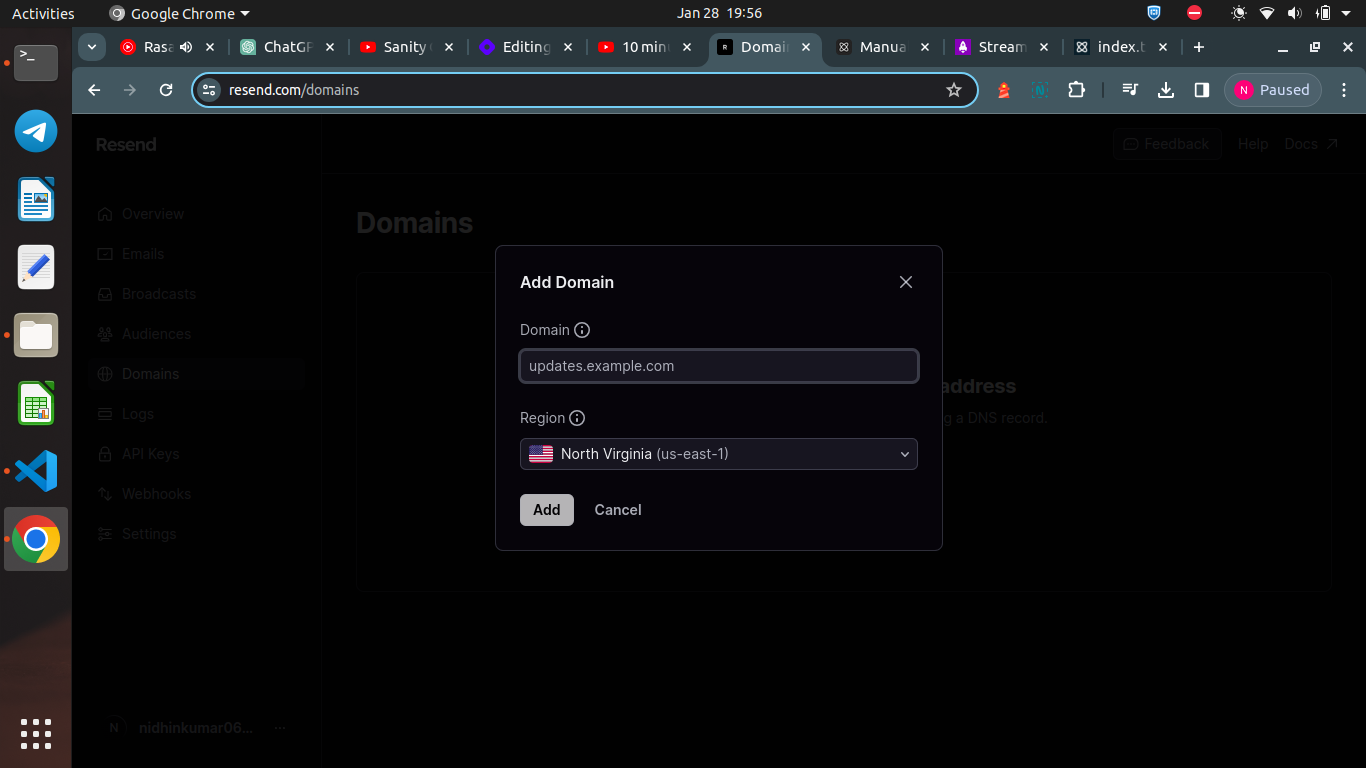
Now you could see the DNS records which you need add it in your DNS provider settings page. Verification would take around 1 days once it is completed navigate to route.ts file and update the from email address to your custom domain.
Summary
Today you have learnt how to use an email template from React-email and send the email using Next.js API with Resend. Will catch up in a new post till then Happy Learning :)