Generating Puppeteer Scripts with the Chrome DevTools Recorder
Writing browser automation by hand is tedious. You inspect an element, hunt for a stable selector, add manual waits, and re-run your script until it finally stops flaking.
The Chrome DevTools Recorder panel lets you skip most of that friction: you click through a user flow once, and DevTools turns it into a robust, editable script you can run, modify, and ship.
This post covers recording user flows, editing steps and selectors, exporting to Puppeteer, replaying from the command line, and the practical situations where this workflow actually pays off.
What the Recorder Is
The Recorder captures user interactions—navigation, clicks, typing, and asset loads—and stores them as a structured sequence of steps.
To find it, open DevTools, click More tools, and select Recorder. Once a flow is recorded, you can immediately replay it, measure its performance, edit its steps, or export it to code.
Step 1: Record a Flow
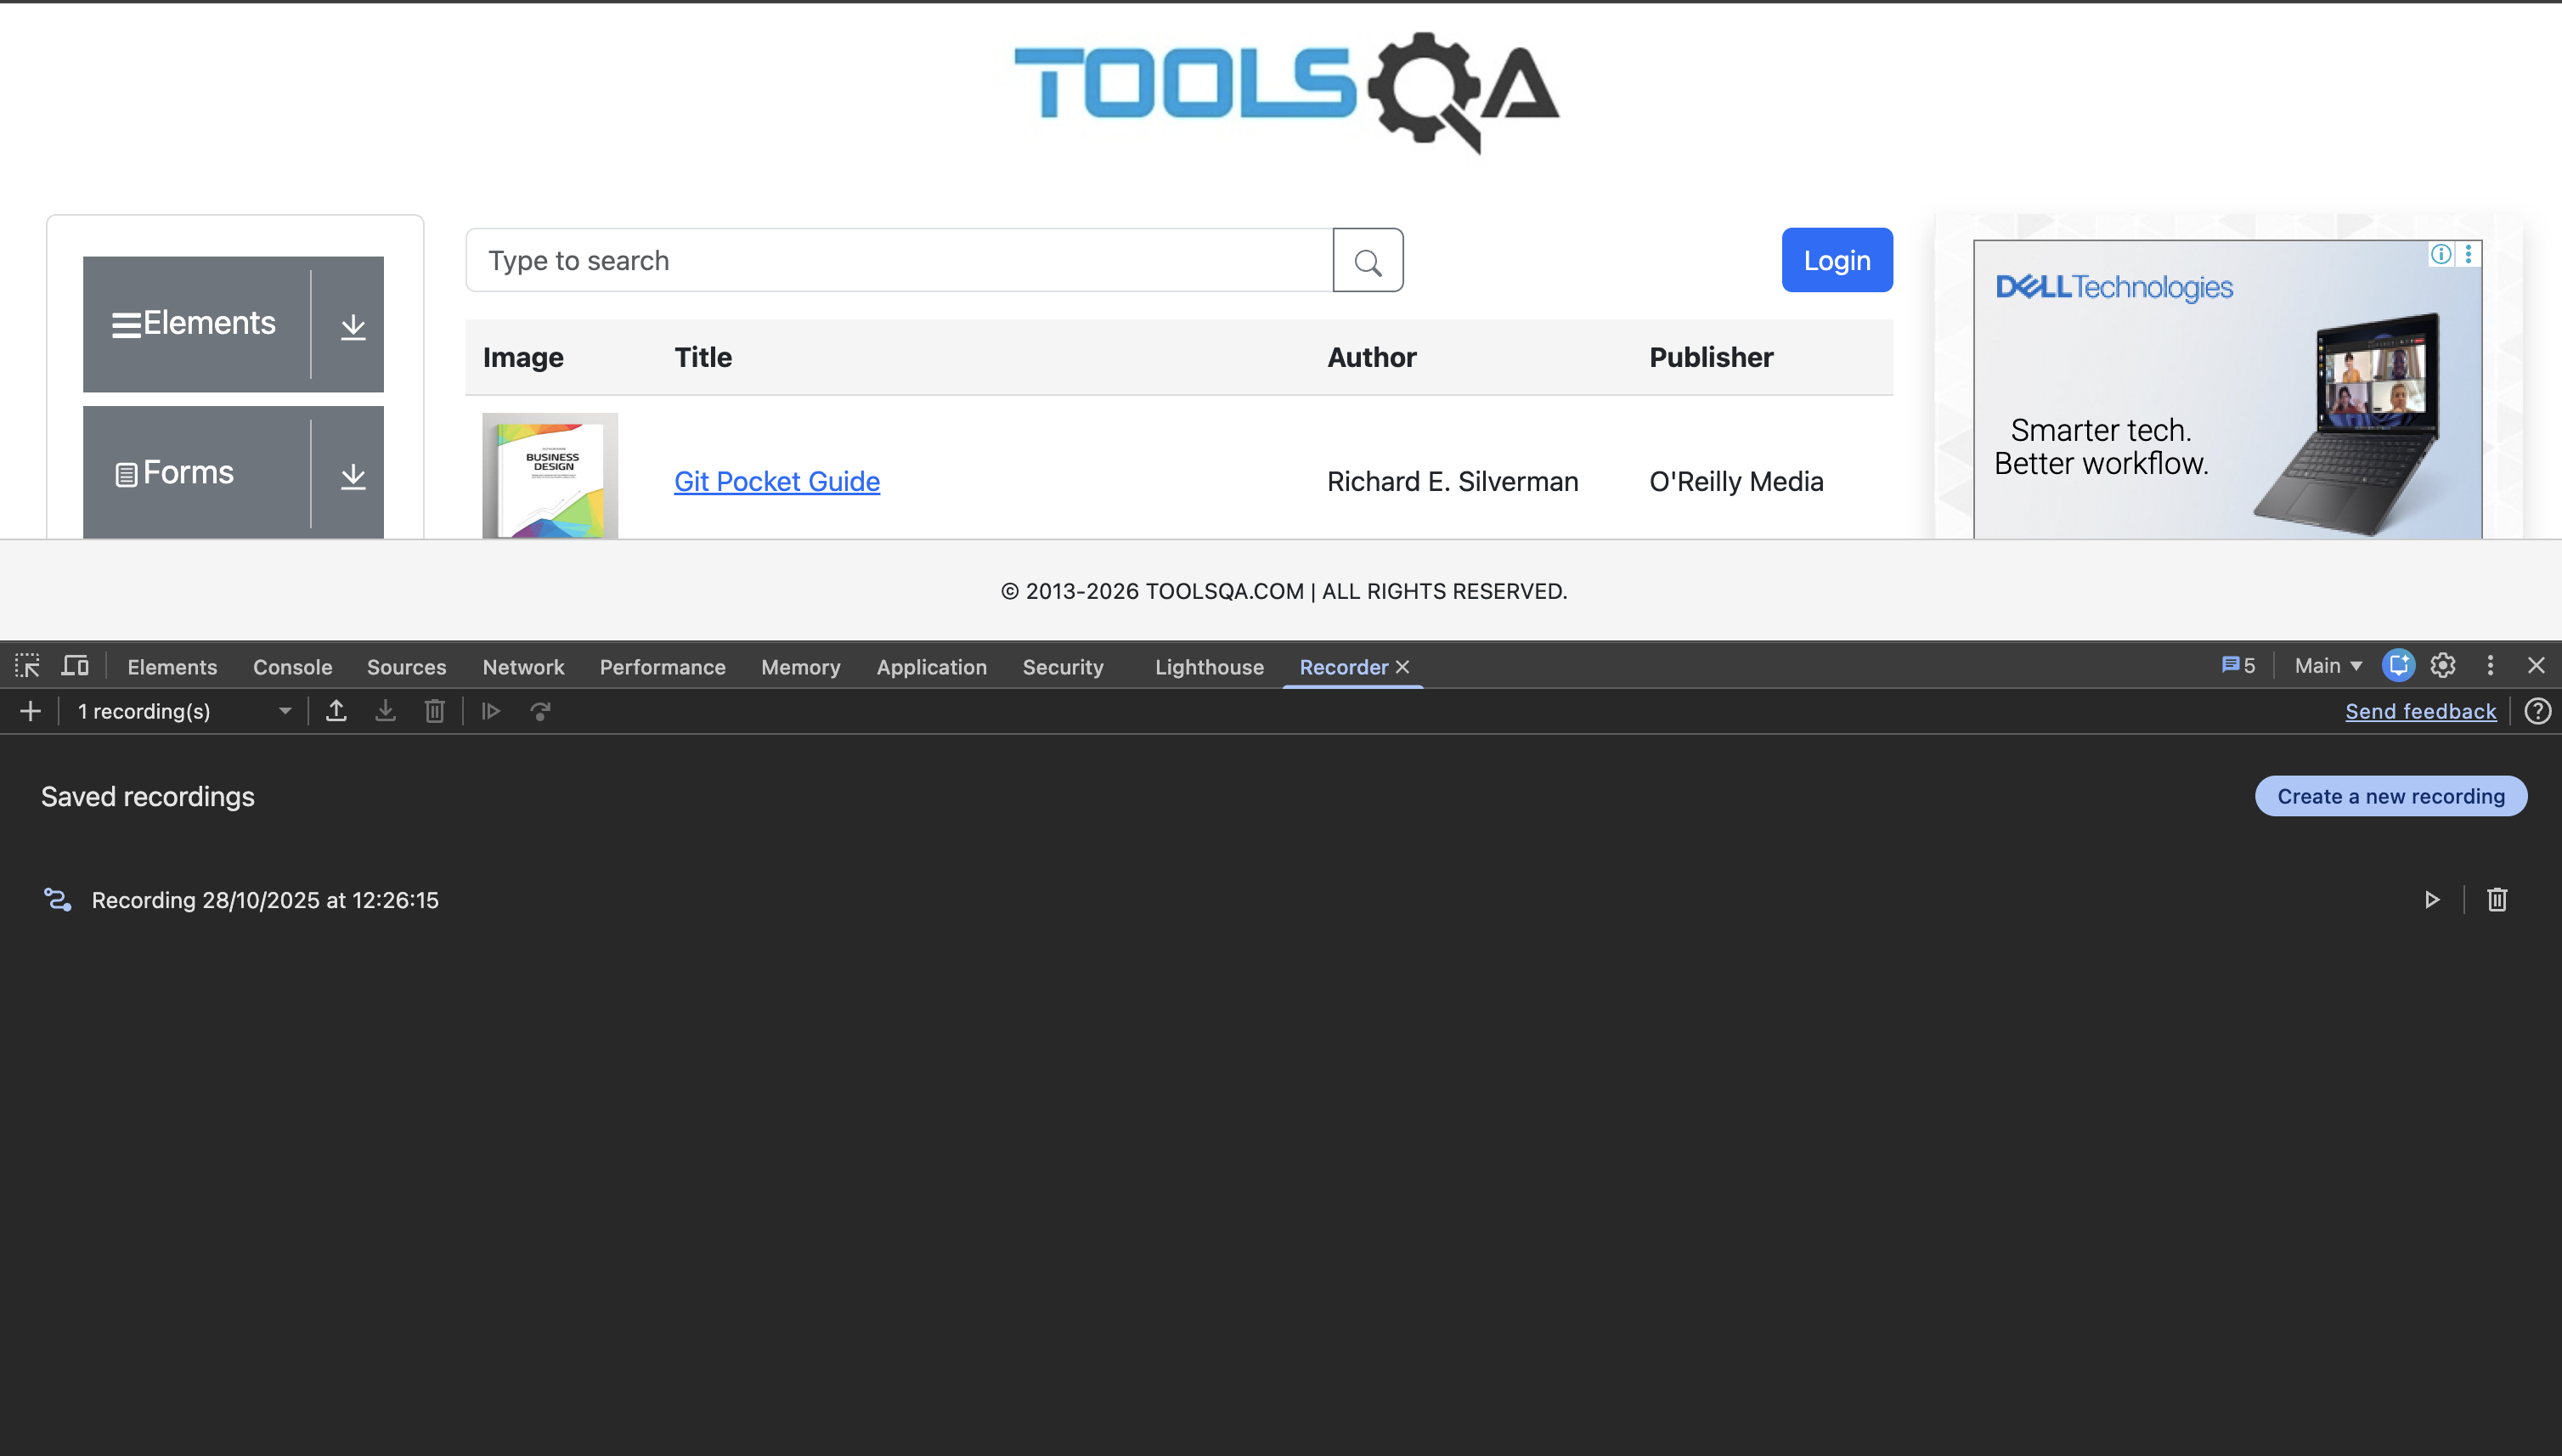
Open DevTools and navigate to the Recorder panel.
Click Start a new recording and give it a descriptive name.
Perform the flow on the page: log in, add an item to a cart, or submit a form.
Click End recording.
💡Pro Tip: Name your recordings after the specific user goal (e.g., checkout-with-coupon) rather than the page URL, as you will likely accumulate several flows over time.
Step 2: Replay and Inspect the Steps
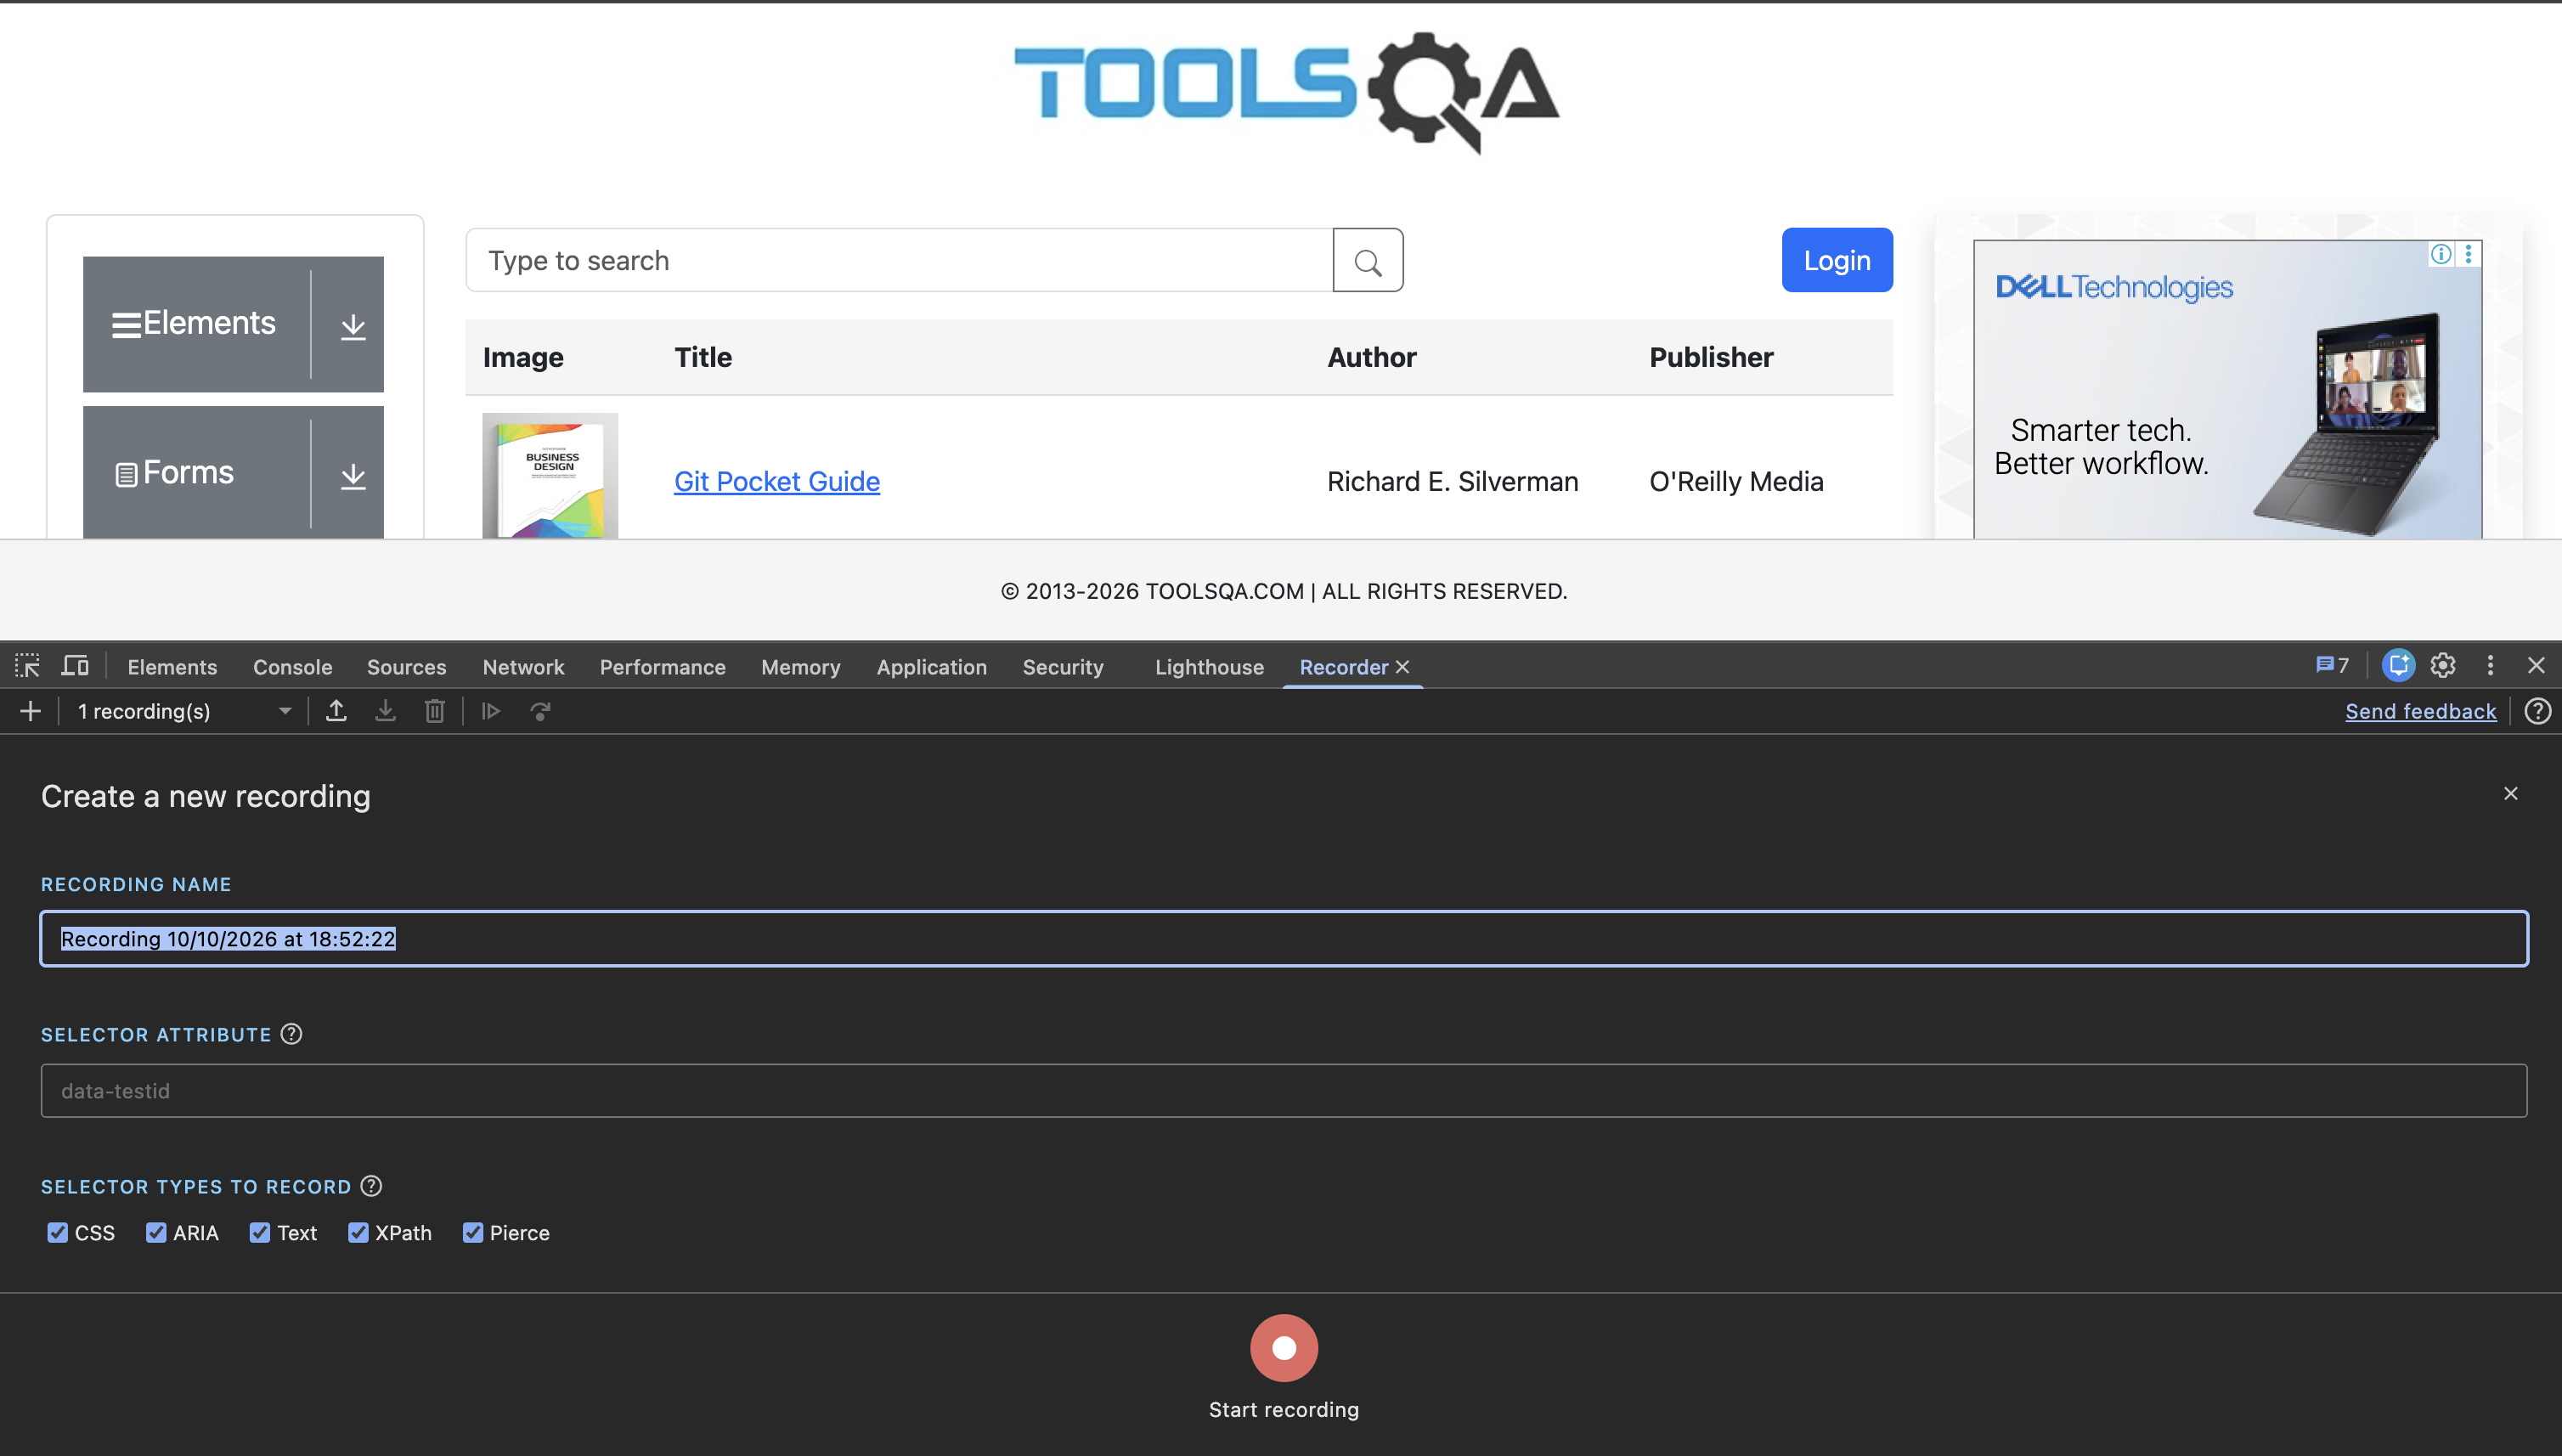
After recording, click Replay. The page will show live progress while the Recorder panel tracks execution.
⚠️ Always replay immediately before exporting. If a recording fails here, it will fail in Puppeteer too.
Expanding any individual step reveals its type, target, available candidate selectors, and precise coordinates (X and Y offsets) for clicks.
Step 3: Fix Your Selectors (The Most Important Step)
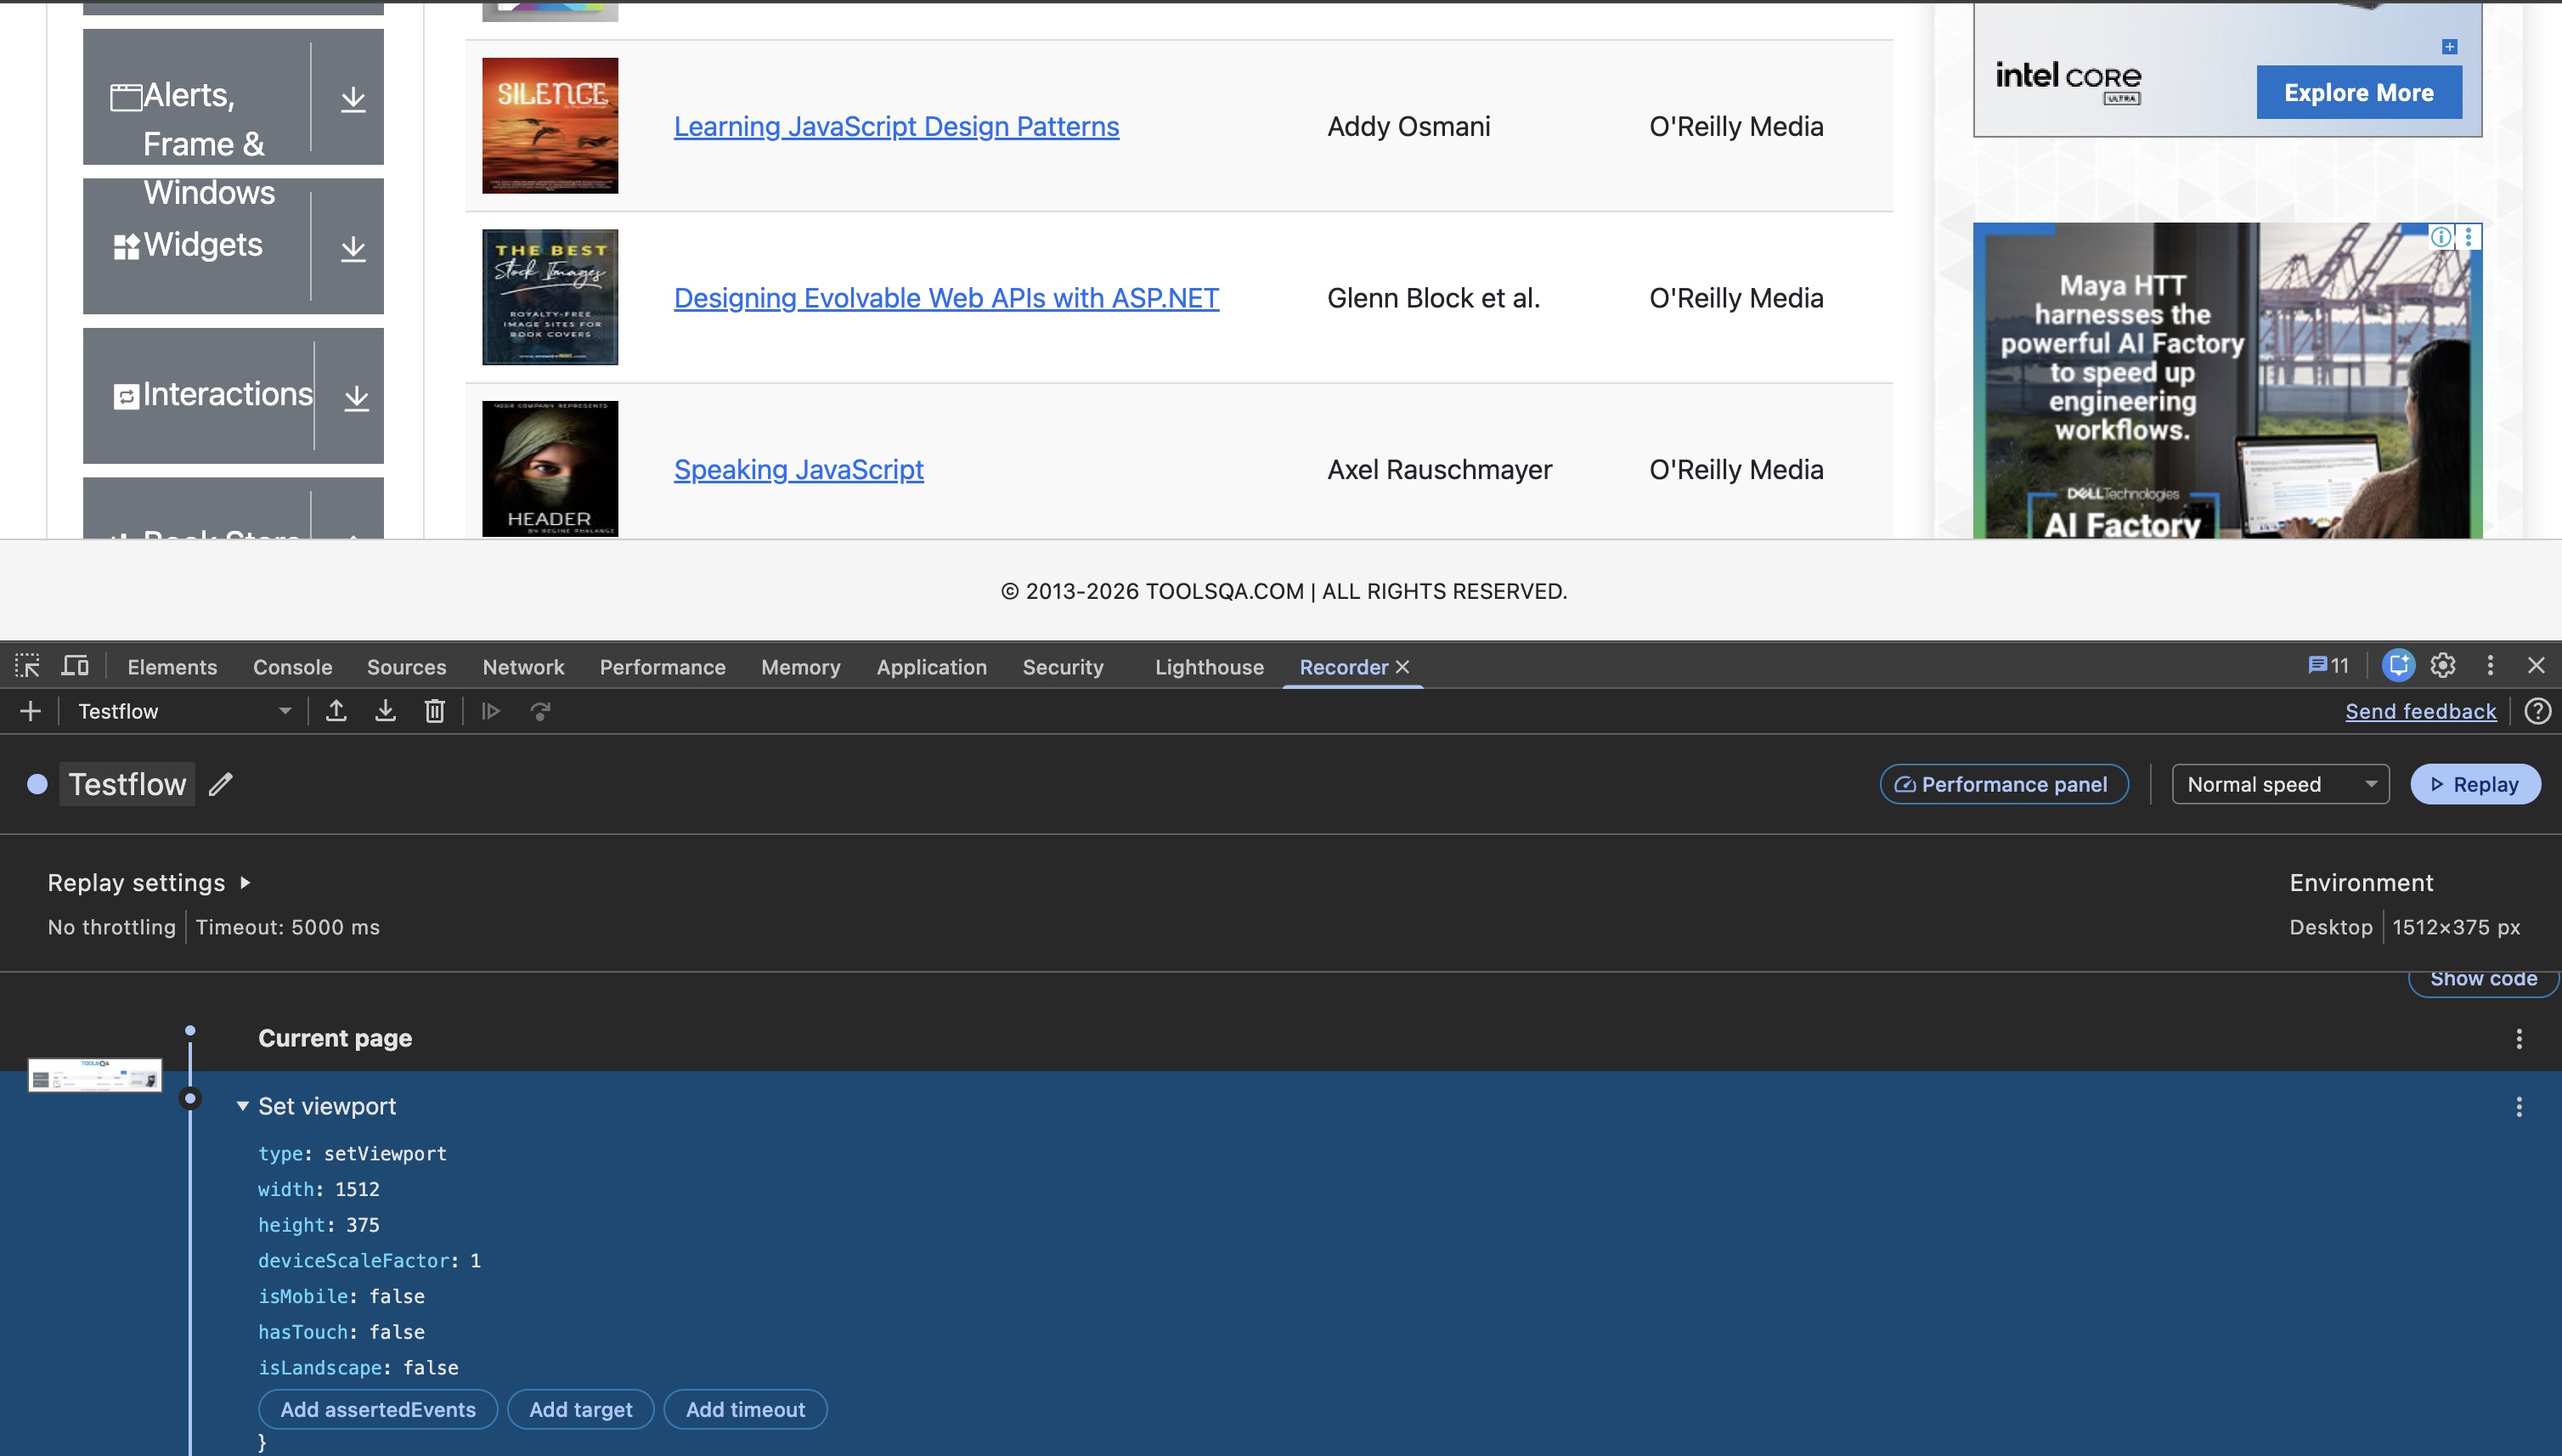
Flaky automation is almost always a selector problem. A recorded step usually carries several candidate selectors. On replay, the Recorder tries them in sequence until one matches an element. You can add, remove, or modify selectors before exporting.
Prefer stable attributes: A
data-testidor an ARIA label survives redesigns. A generated class name like.css-1x2y3zdoes not.Remove brittle candidates: If a long, positional CSS selector is listed and you don't trust it, delete it so it can't accidentally match the wrong element.
Re-replay after every edit: It only takes seconds and saves hours of debugging later.
Step 4: Export to Puppeteer
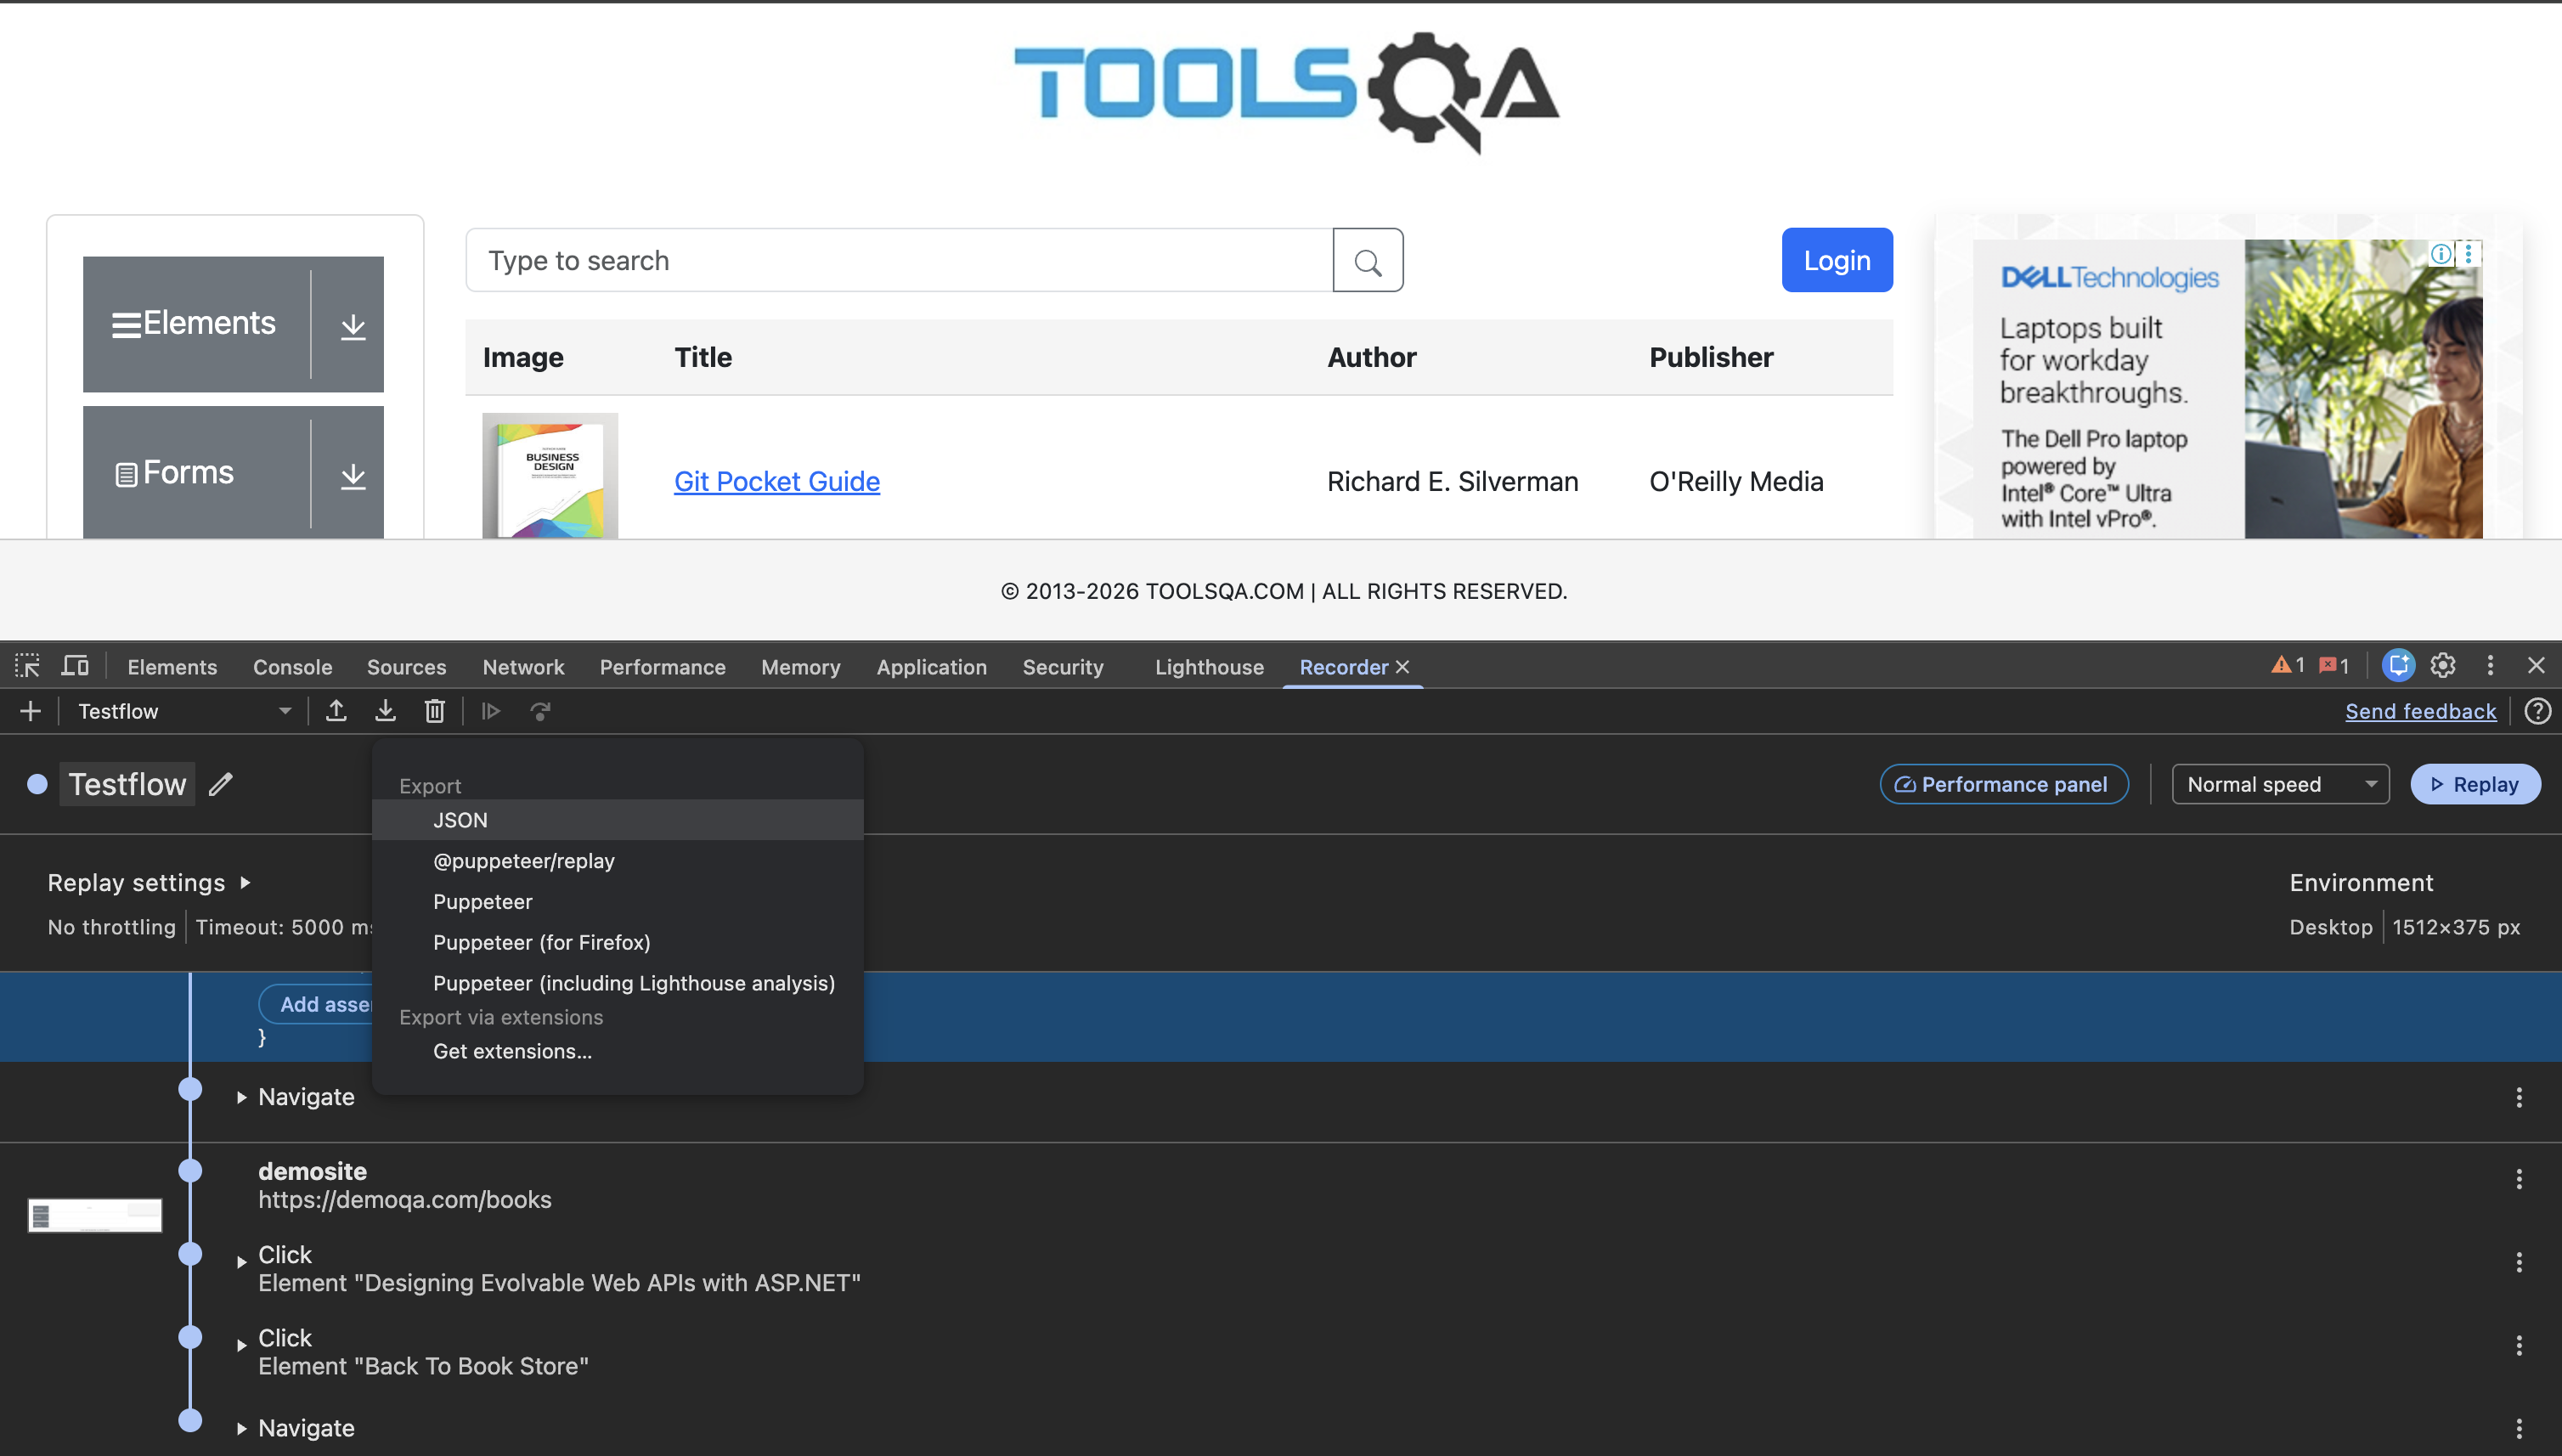
Click Export at the top of the panel. Built-in formats include @puppeteer/replay, plain Puppeteer, Puppeteer-for-Firefox, and Puppeteer + Lighthouse.
Export Formats at a Glance
Format | What You Get | Best For |
JSON | The raw recording data | Archiving and re-importing into the Recorder |
| JSON replayed via the Puppeteer Replay library | Keeping recordings as data and running them via CLI |
Puppeteer | A standalone Node.js script | Editing by hand and extending with custom logic |
Puppeteer (Firefox) | A cross-browser script via WebDriver BiDi | Cross-browser compatibility checks |
Puppeteer + Lighthouse | A script with an embedded Lighthouse analysis | Auditing performance alongside functional flows |
📌 Caveat: A plain Puppeteer script cannot be imported back into the Recorder. If you plan to keep editing visually, treat the JSON recording as your source of truth and the script as a build artifact.
What an Exported Script Looks Like
The exact output varies by Chrome version, but the structural shape remains consistent
import puppeteer from 'puppeteer';

const browser = await puppeteer.launch();
const page = await browser.newPage();
const timeout = 5000;
page.setDefaultTimeout(timeout);

await page.setViewport({ width: 1280, height: 800 });

// Step: navigate
await page.goto('https://example.com/login');

// Step: click, trying selectors in order
await puppeteer.Locator.race([
  page.locator('::-p-aria(Email)'),
  page.locator('#email'),
])
  .setTimeout(timeout)
  .click({ offset: { x: 20, y: 12 } });

await browser.close();
Notice how multiple selectors from the Recorder become a locator race—mirroring the fallback logic in the panel. The ::-p-aria(...) syntax is a Puppeteer-specific selector targeting accessibility names.
Running the Recording Without Writing Code
If you exported the @puppeteer/replay format (or just saved the raw JSON), you don't need to write a script. Install the package via npm:
npm install @puppeteer/replay --save
Then run the recording directly from your terminal:
npx @puppeteer/replay recording.json
Useful CLI Tips
Folder execution: Pointing the CLI at a directory runs every recording inside it, instantly creating a simple regression test suite.
Headless modes: The
PUPPETEER_HEADLESSenvironment variable controls execution mode (truefor headless,falsefor headful, andchromefor the newer experimental headless mode). Use headful while debugging and headless in CI.
Going Further with the Replay API
The @puppeteer/replay library is more than a CLI. You can import createRunner and parse to execute recordings programmatically, subclass PuppeteerRunnerExtension to hook into lifecycle events, or use stringifiy to convert recordings into scripts.
Extending the runner allows you to inject custom behavior the Recorder can't capture out of the box, such as:
Logging each step as it executes.
Taking a screenshot after every navigation.
Injecting authentication tokens before a flow starts.
Measuring Performance from the Same Recording
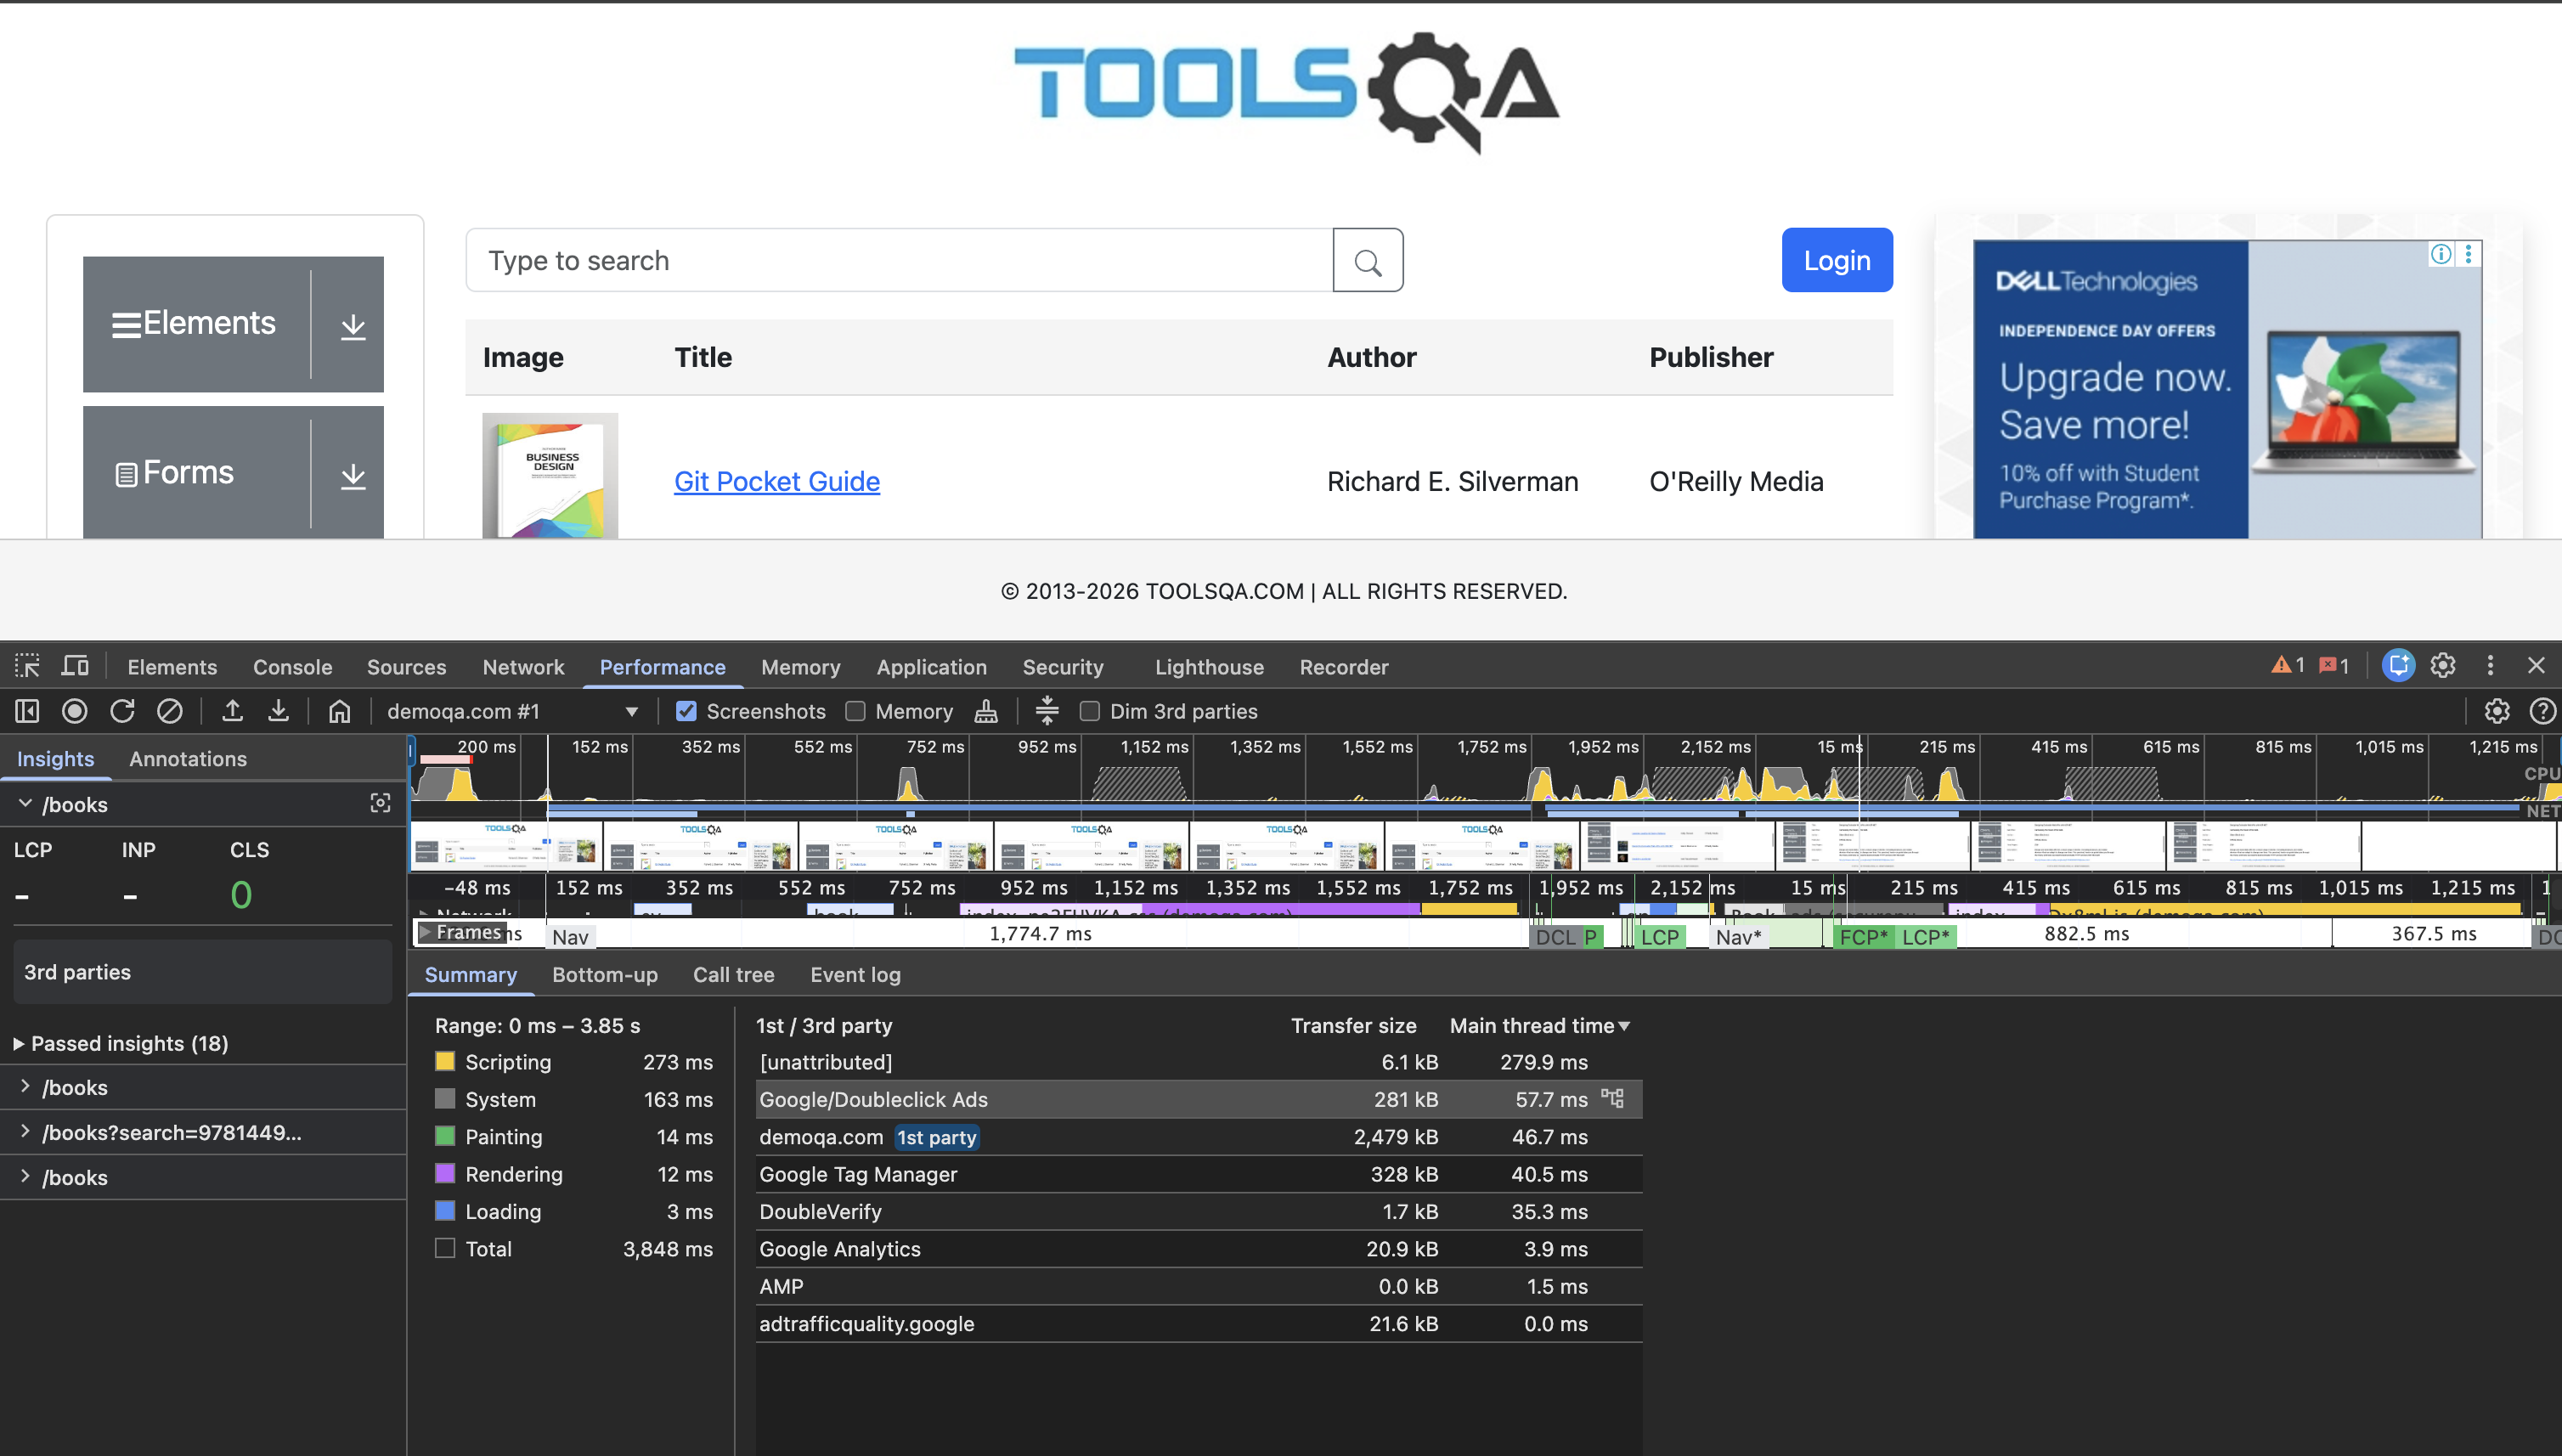
You get a performance auditing tool for free. Clicking Measure performance replays your flow and automatically opens the trace in the Performance panel.
This means a single recording serves as both a functional test and a repeatable performance scenario, allowing you to record user journeys once and benchmark them regularly.
Where This Is Actually Useful
Reproducible bug reports: A bug requiring eight clicks and a specific form state is painful to write out. Record the steps once, export the JSON, and attach it to your ticket so developers and QA can run
npx @puppeteer/replayin headful mode and watch the bug reproduce identically.Smoke tests for critical flows: Pick core journeys—login, signup, checkout, password reset—and keep their JSON files in your repository to run them in CI:
{
  "scripts": {
    "smoke": "PUPPETEER_HEADLESS=true npx @puppeteer/replay ./recordings"
  }
}
Performance regression checks: Use recordings before and after a refactor to compare traces against real user interactions rather than cold page loads.
Repetitive manual work: Automate internal admin form submissions, weekly dashboard report exports, or test account resets on demand.
Quick test scaffolding: Generate the boring 80% of an E2E test suite in an afternoon, then refine selectors, extract shared helpers, and add custom assertions.
Cross-browser sanity checks: Leverage the Firefox export to verify flows across engines via WebDriver BiDi.
Demos and documentation: Replay recordings in headful mode for live product walkthroughs or onboarding materials.
Bridge to other frameworks: Use export extensions to translate DevTools recordings straight into Cypress, Nightwatch, or CodeceptJS.
When It's Not the Right Tool
Large-scale scraping: Recordings handle single click paths. Crawling thousands of pages requires custom Puppeteer code with queues, rate-limiting, and retries.
Highly dynamic UIs: Flows dependent on random content, A/B variants, or volatile timing require hand-tuned waits.
Complex logic: Loops, conditionals, and data-driven runs belong in code. Use the recording as scaffolding, then take over.
Long-lived tests: Unstructured recorded scripts become brittle over time; extract shared steps into helper functions early.
Pitfalls and Tips
Add assertions: Recorded flows capture clicks, not outcomes. Always add checks verifying that expected UI changes actually occurred.
Sanitize secrets: Passwords typed during recording end up in the export. Replace them with environment variables before committing code.
Watch out for timing: Lazy-loaded elements, complex animations, and network-dependent UI may require explicit waits beyond what the Recorder generates.
Keep your JSON: It is the only format you can re-import into DevTools for visual editing.
Pin your versions: Puppeteer and Chrome move quickly; pin both dependencies in your CI pipelines to prevent unexpected drift.
The ideal workflow is simple: record once, refine your selectors, replay to confirm stability, and export in the format that fits your pipeline. You get a working automation script in minutes instead of an hour of manual selector hunting. From there, treat the output like any other production code: add assertions, strip out sensitive data, and check it into version control.